This article provides instructions for saving files when using a Mac-based client computer.
This solution will show you how to save a file when using Apps Anywhere on a Mac-based computer. There are several ways to save a file, but for this article we'll focus on saving to the local Mac-based computer and saving to a USB drive attached to a local Mac-based computer.
Saving to your Mac from Apps Anywhere
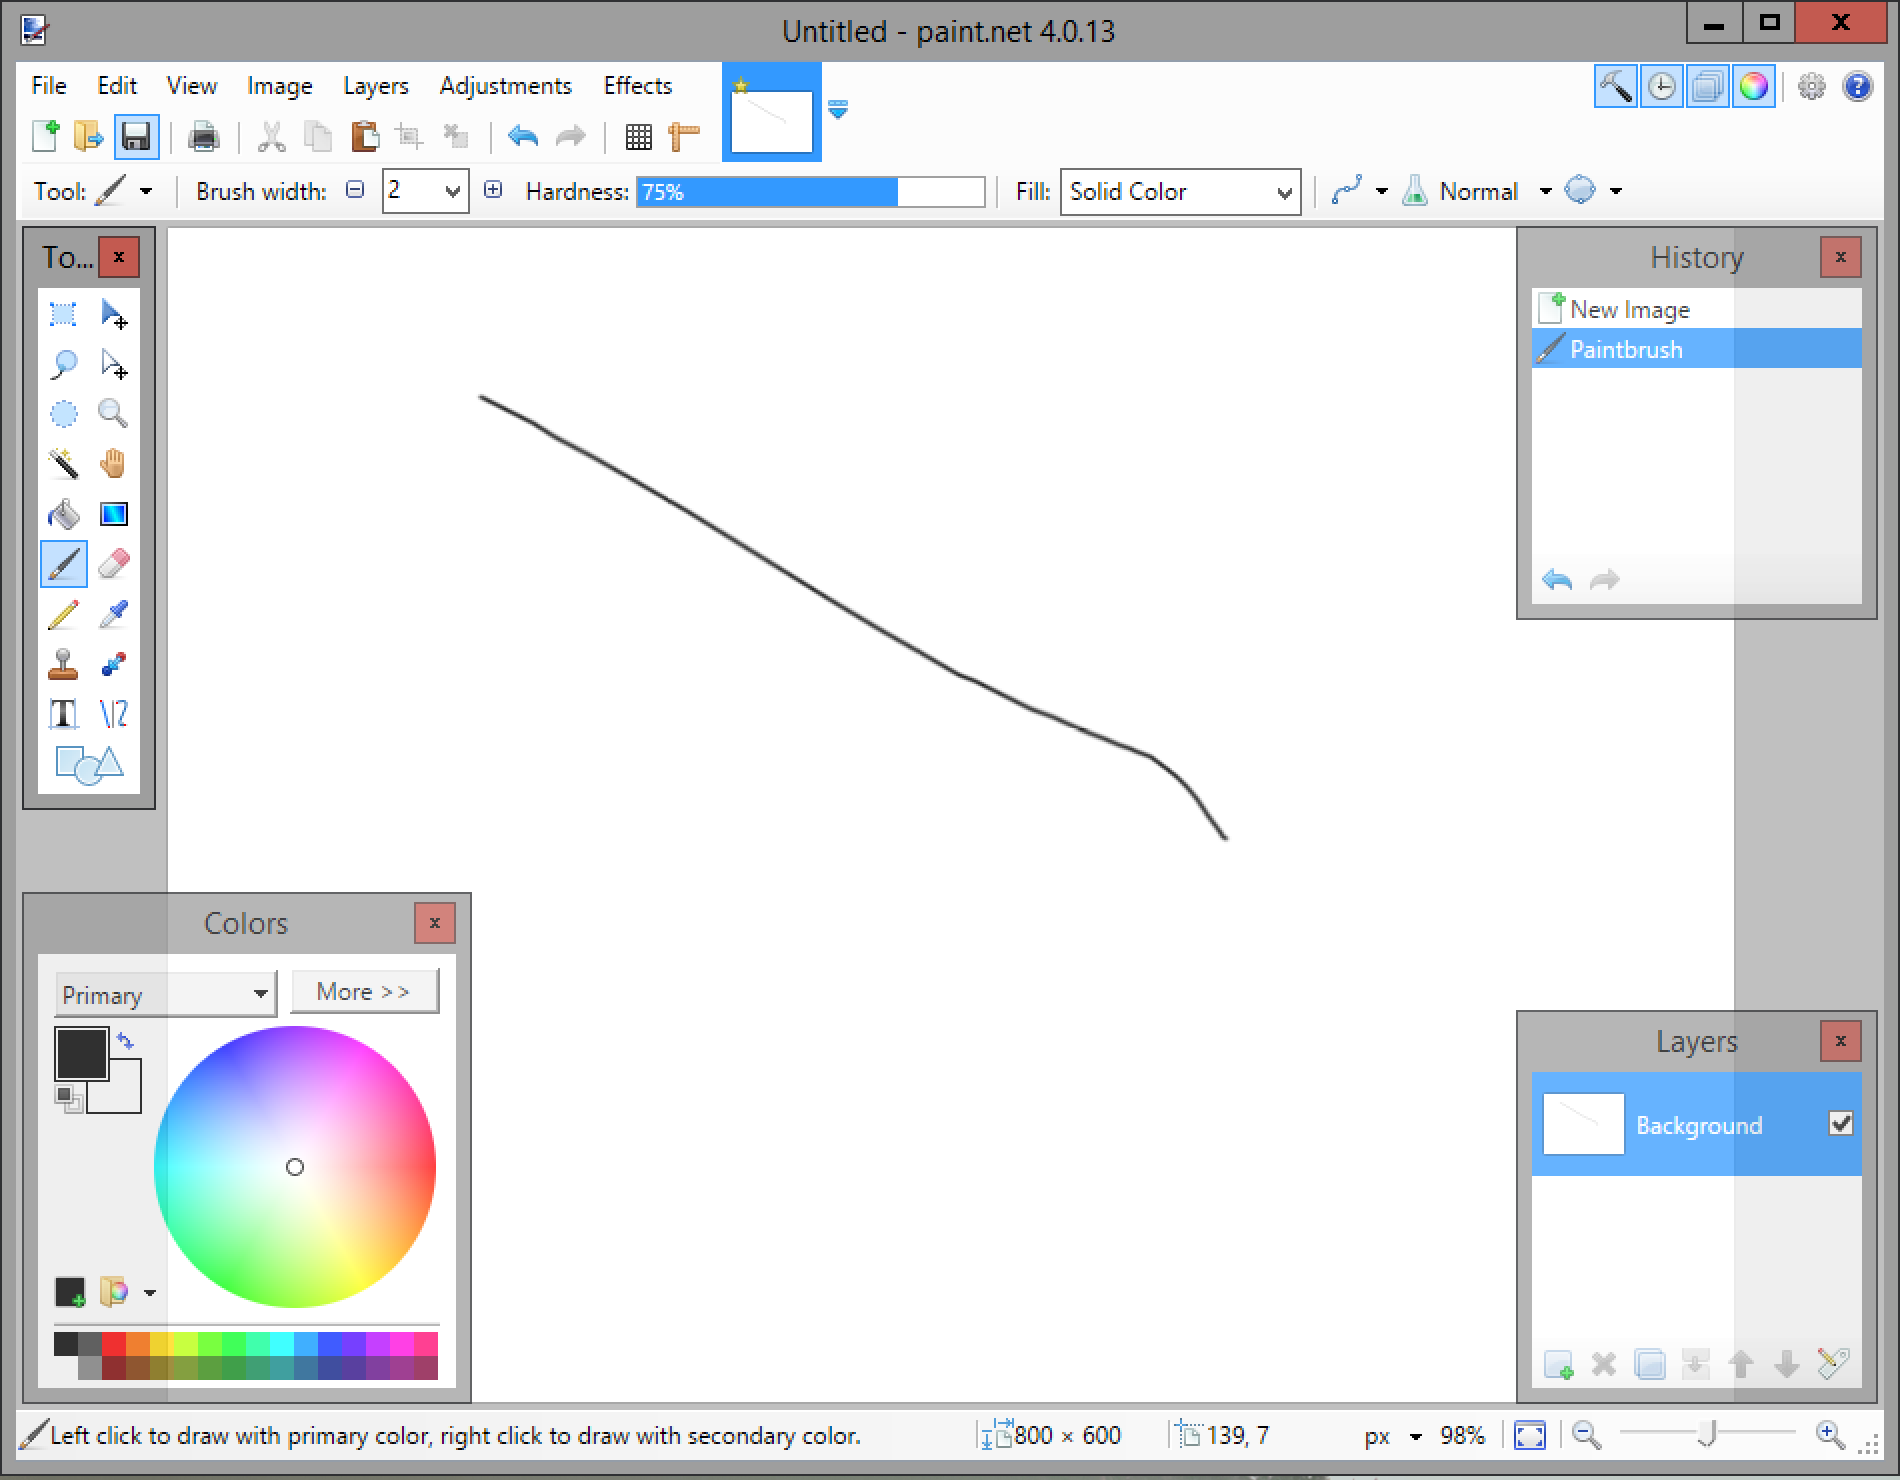
In any application, the first step to saving your file is clicking on the Save icon or navigating to File > Save in the menu bar. In the screenshot below you can see the blue floppy disk which typically means Save.
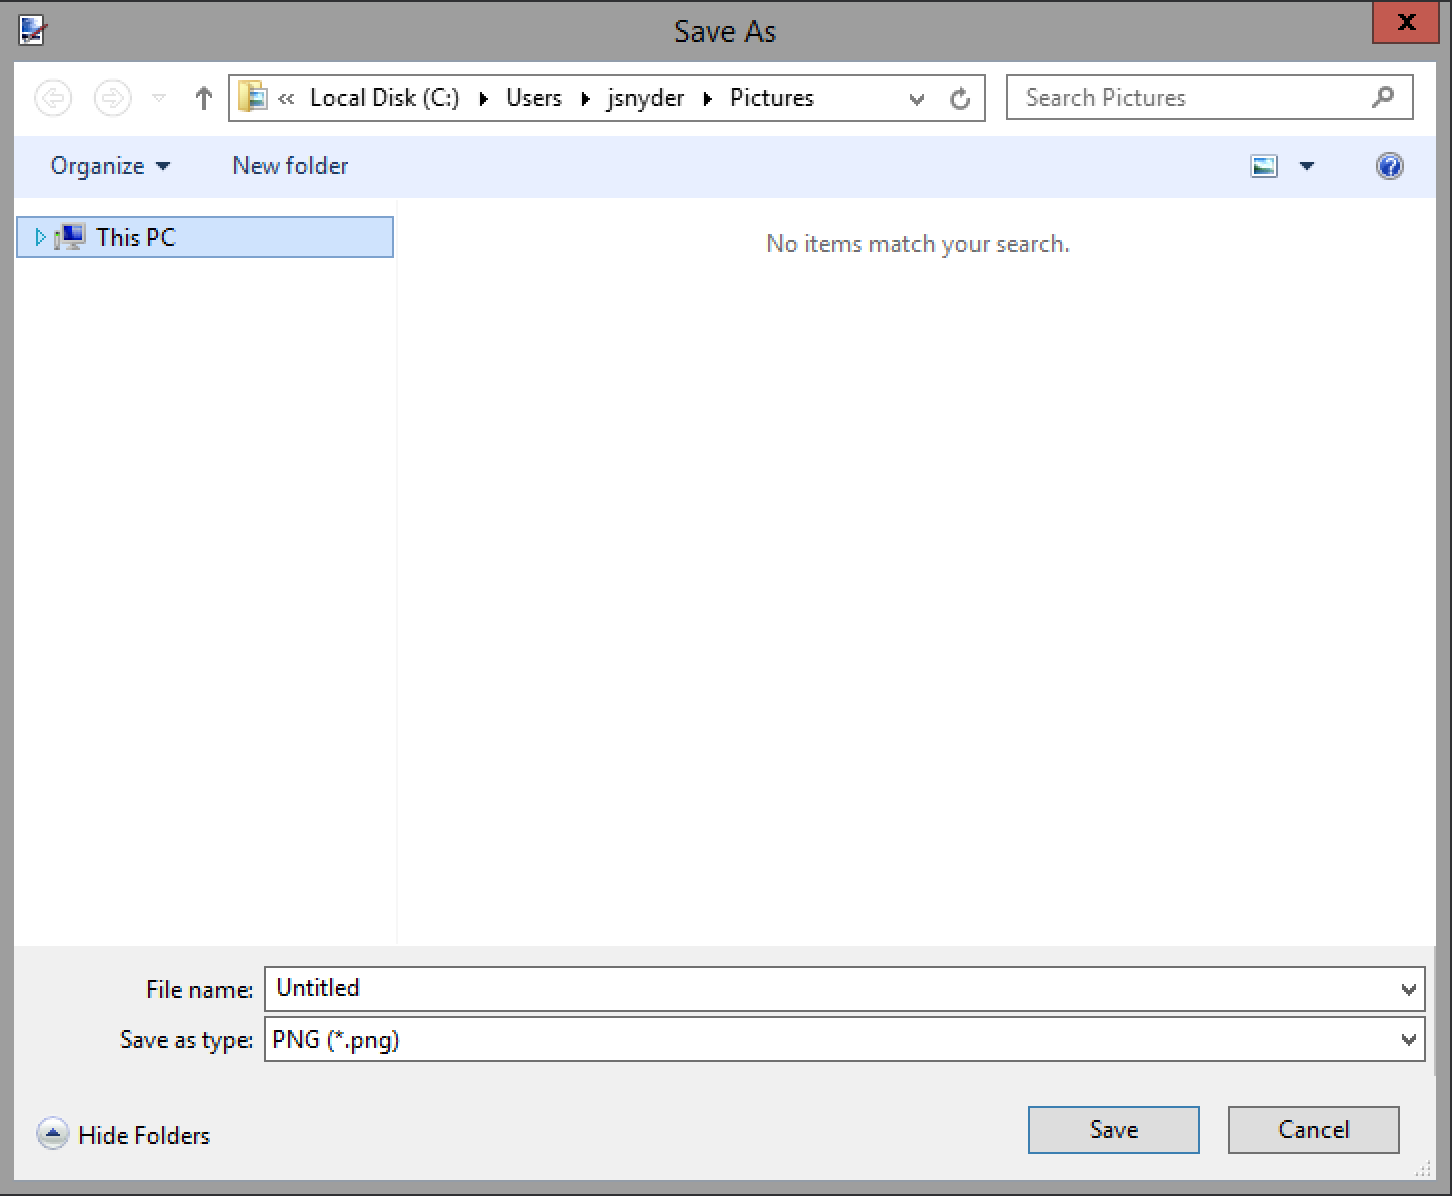
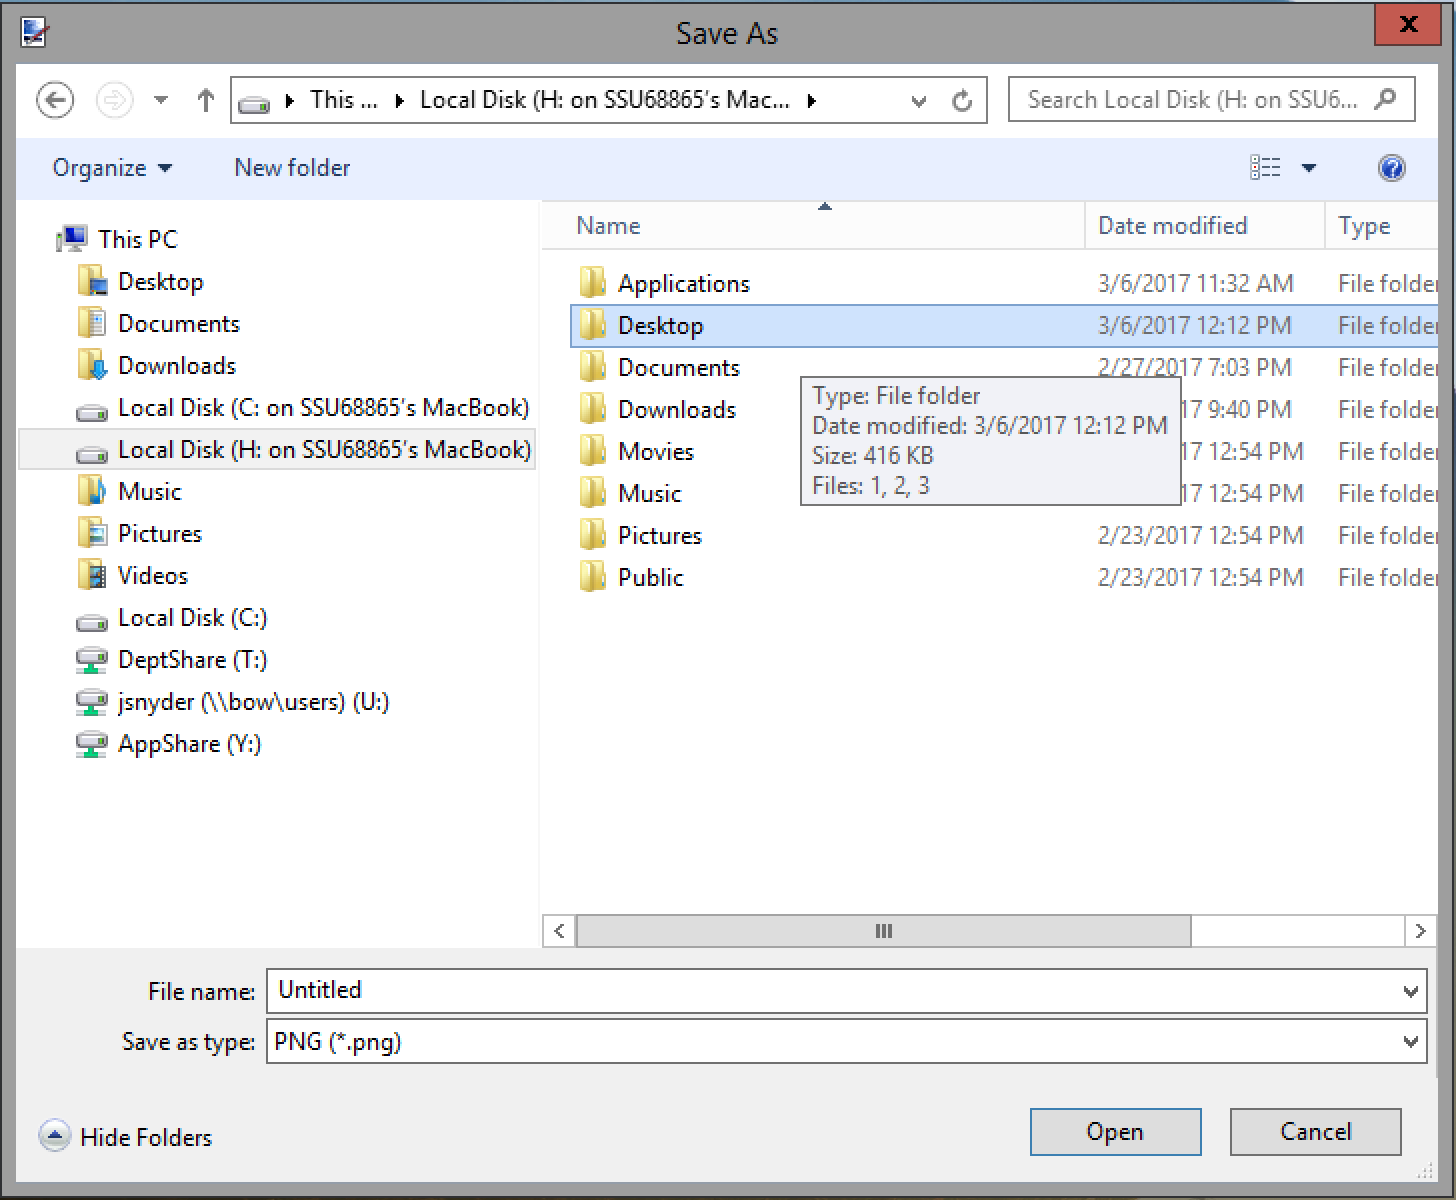
Depending on the application, you'll be presented with a default save location. You will almost always never save to the default. Instead, you will click on the small arrow next to "This PC".
Note: You can also click on "This PC" instead of clicking on the arrow. The list of locations will be displayed on the right instead of the left.
After clicking on the small arrow, a list of locations will appear. In most cases, you will want to select Local Disk (H: on "name of your mac"). This location will default to your local Mac's home directory.
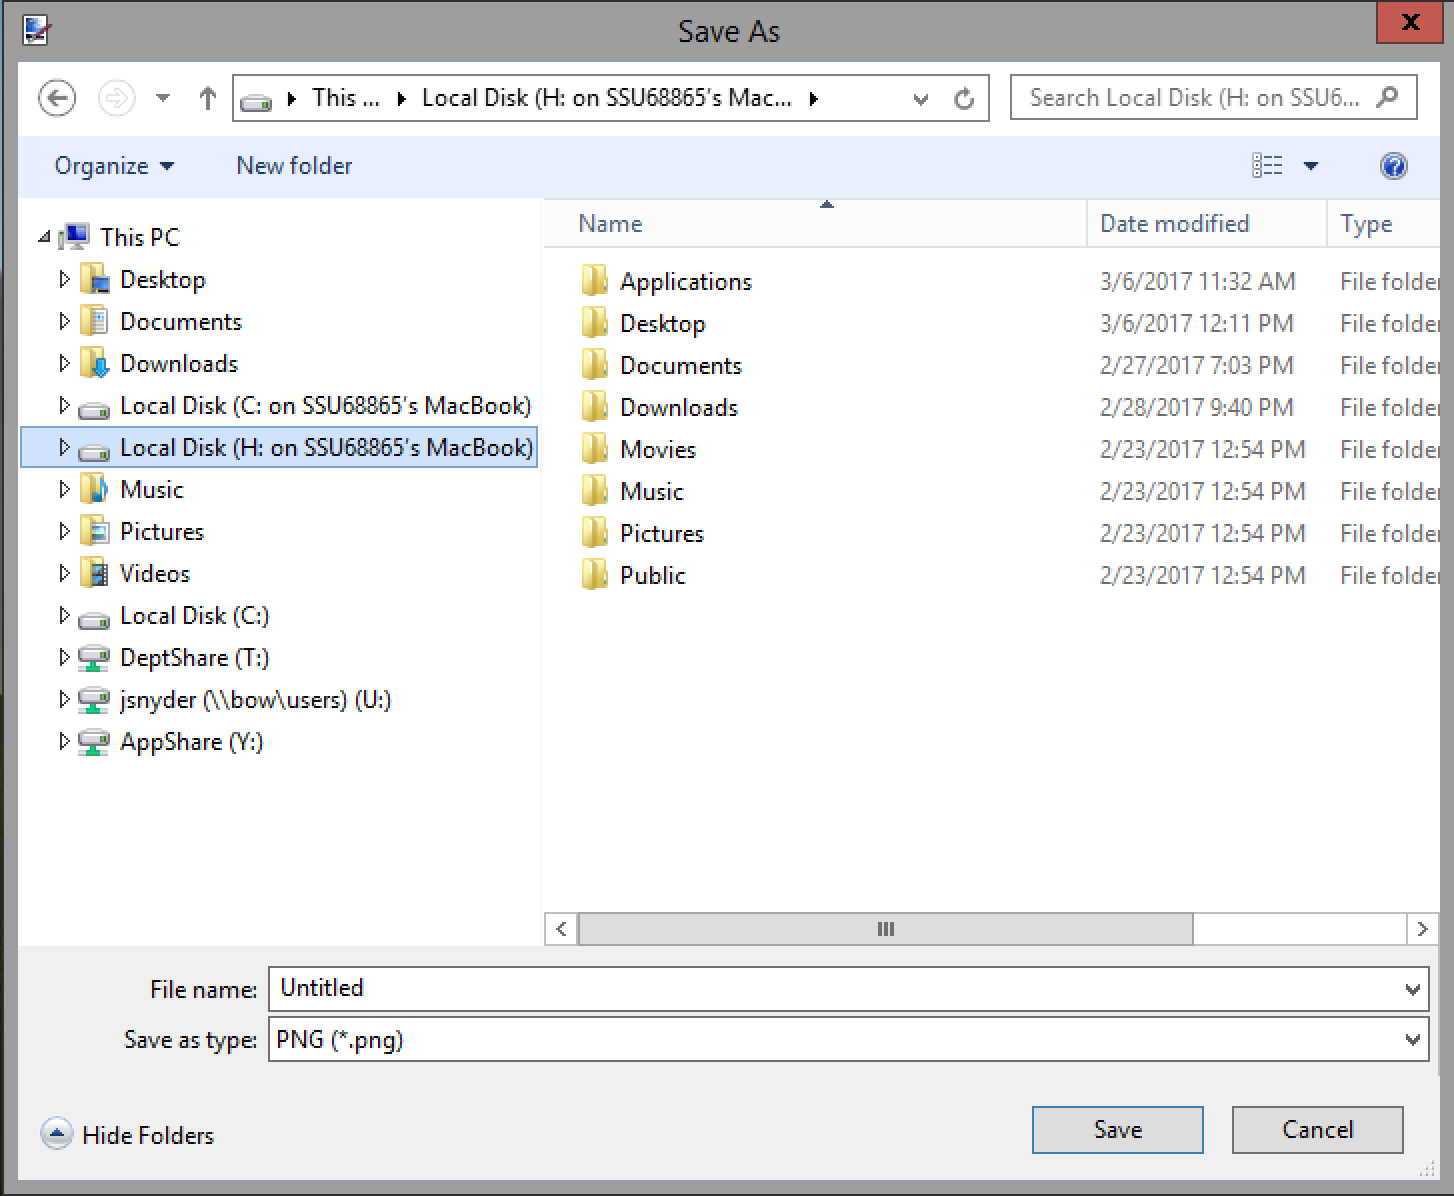
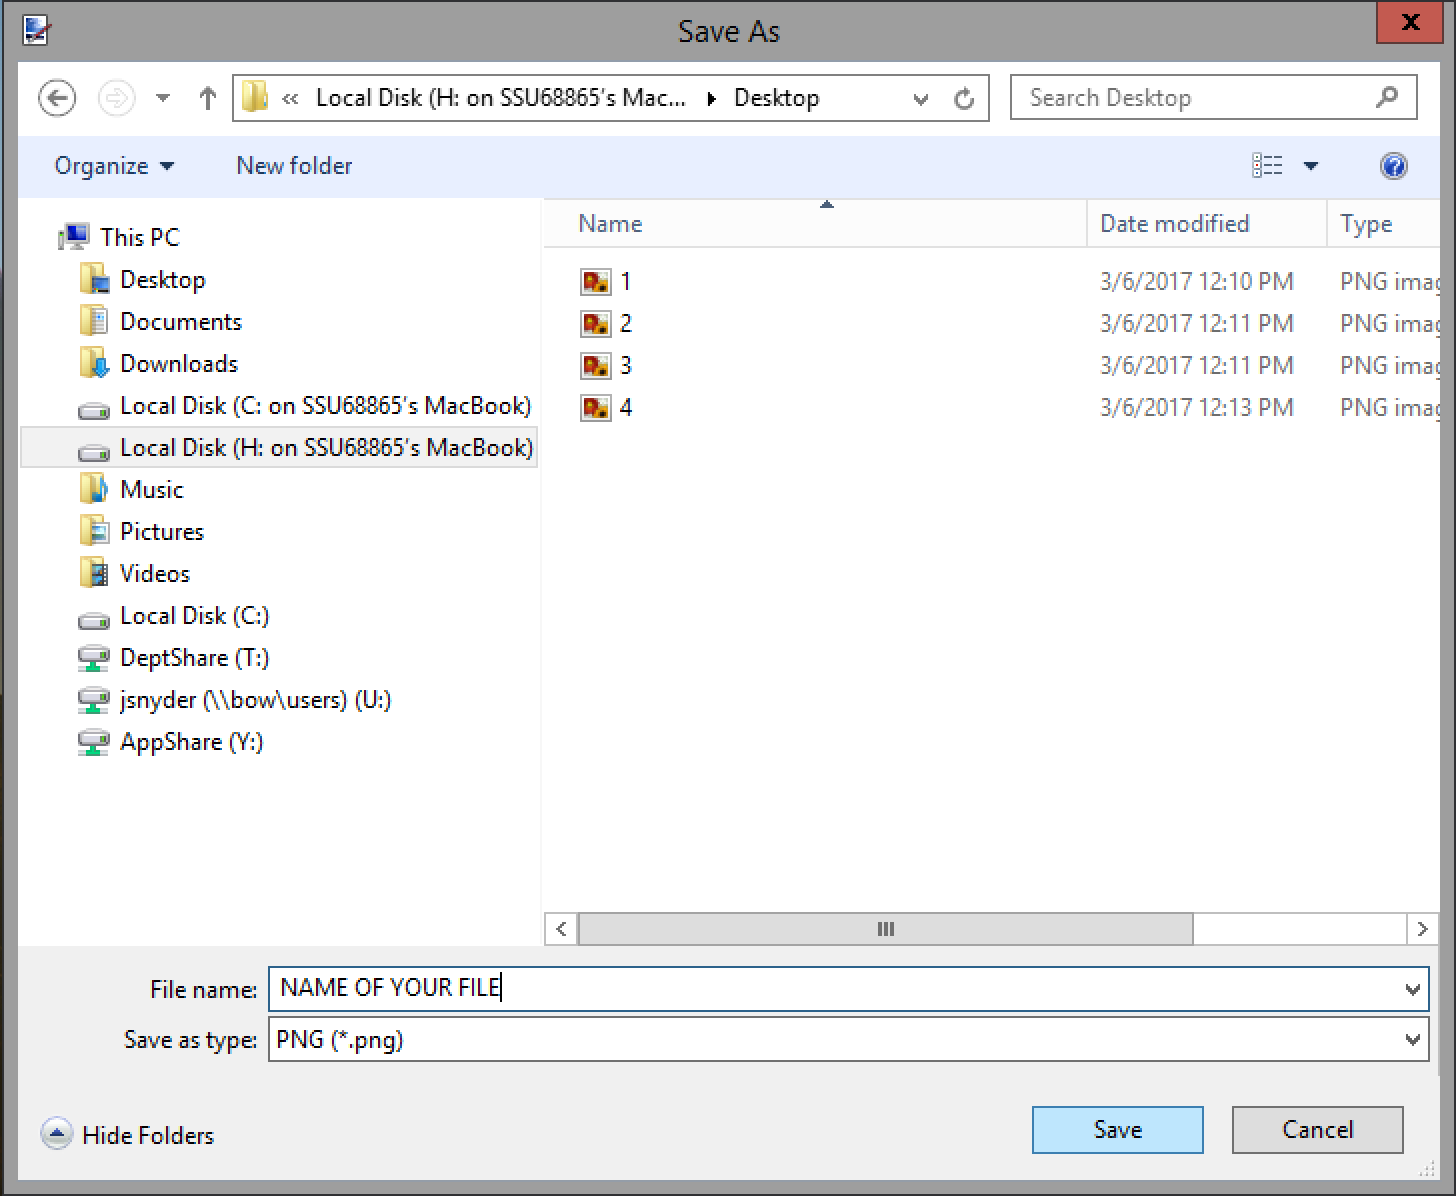
For this example, we will save to the Desktop on our local Mac. Double click Desktop.
Name your file and click Save.
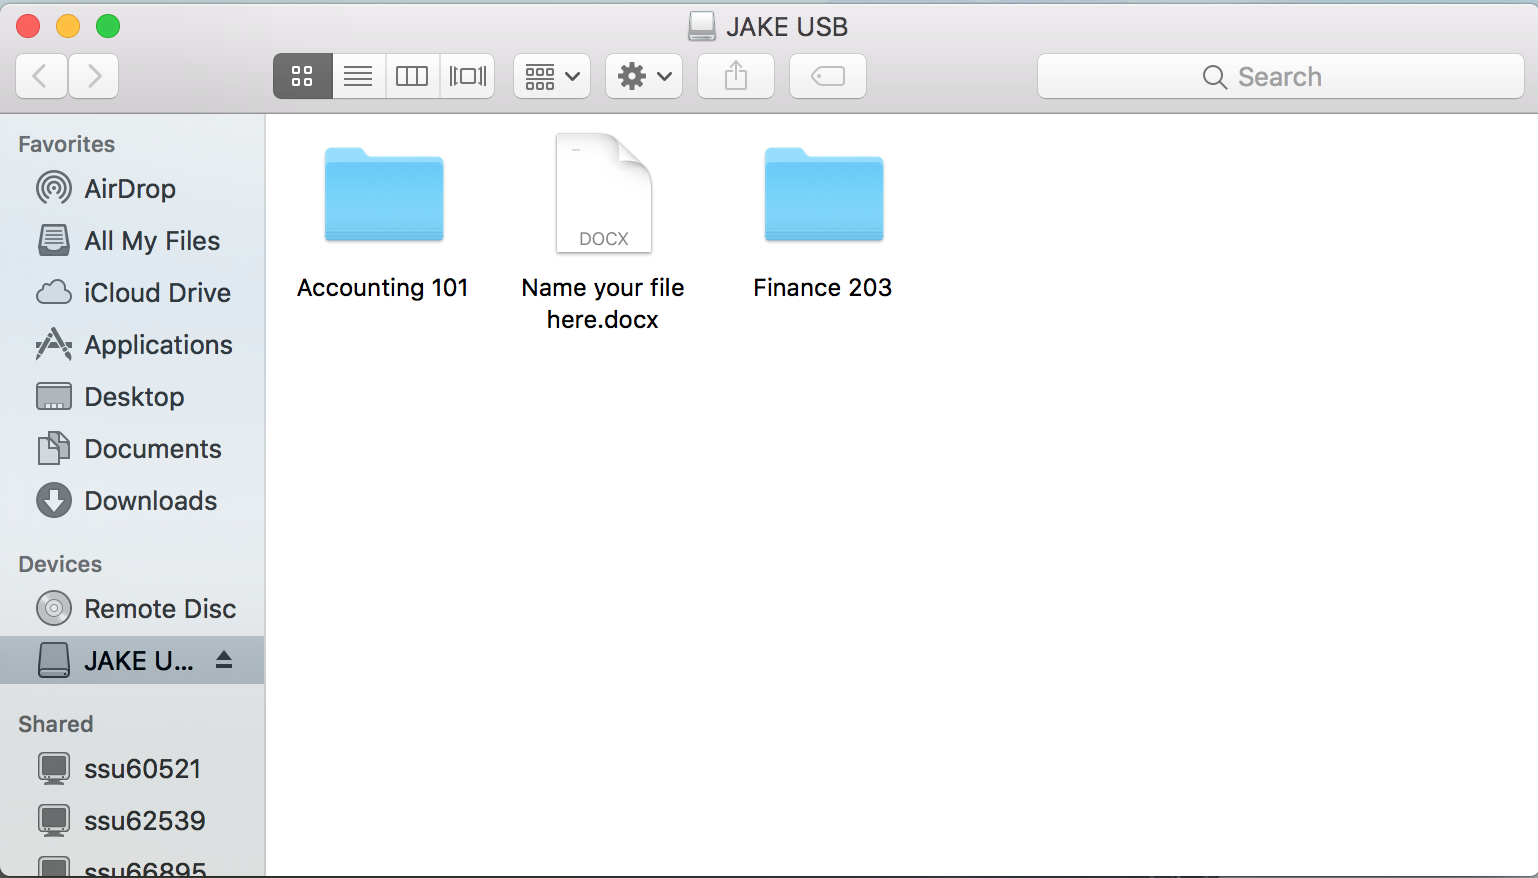
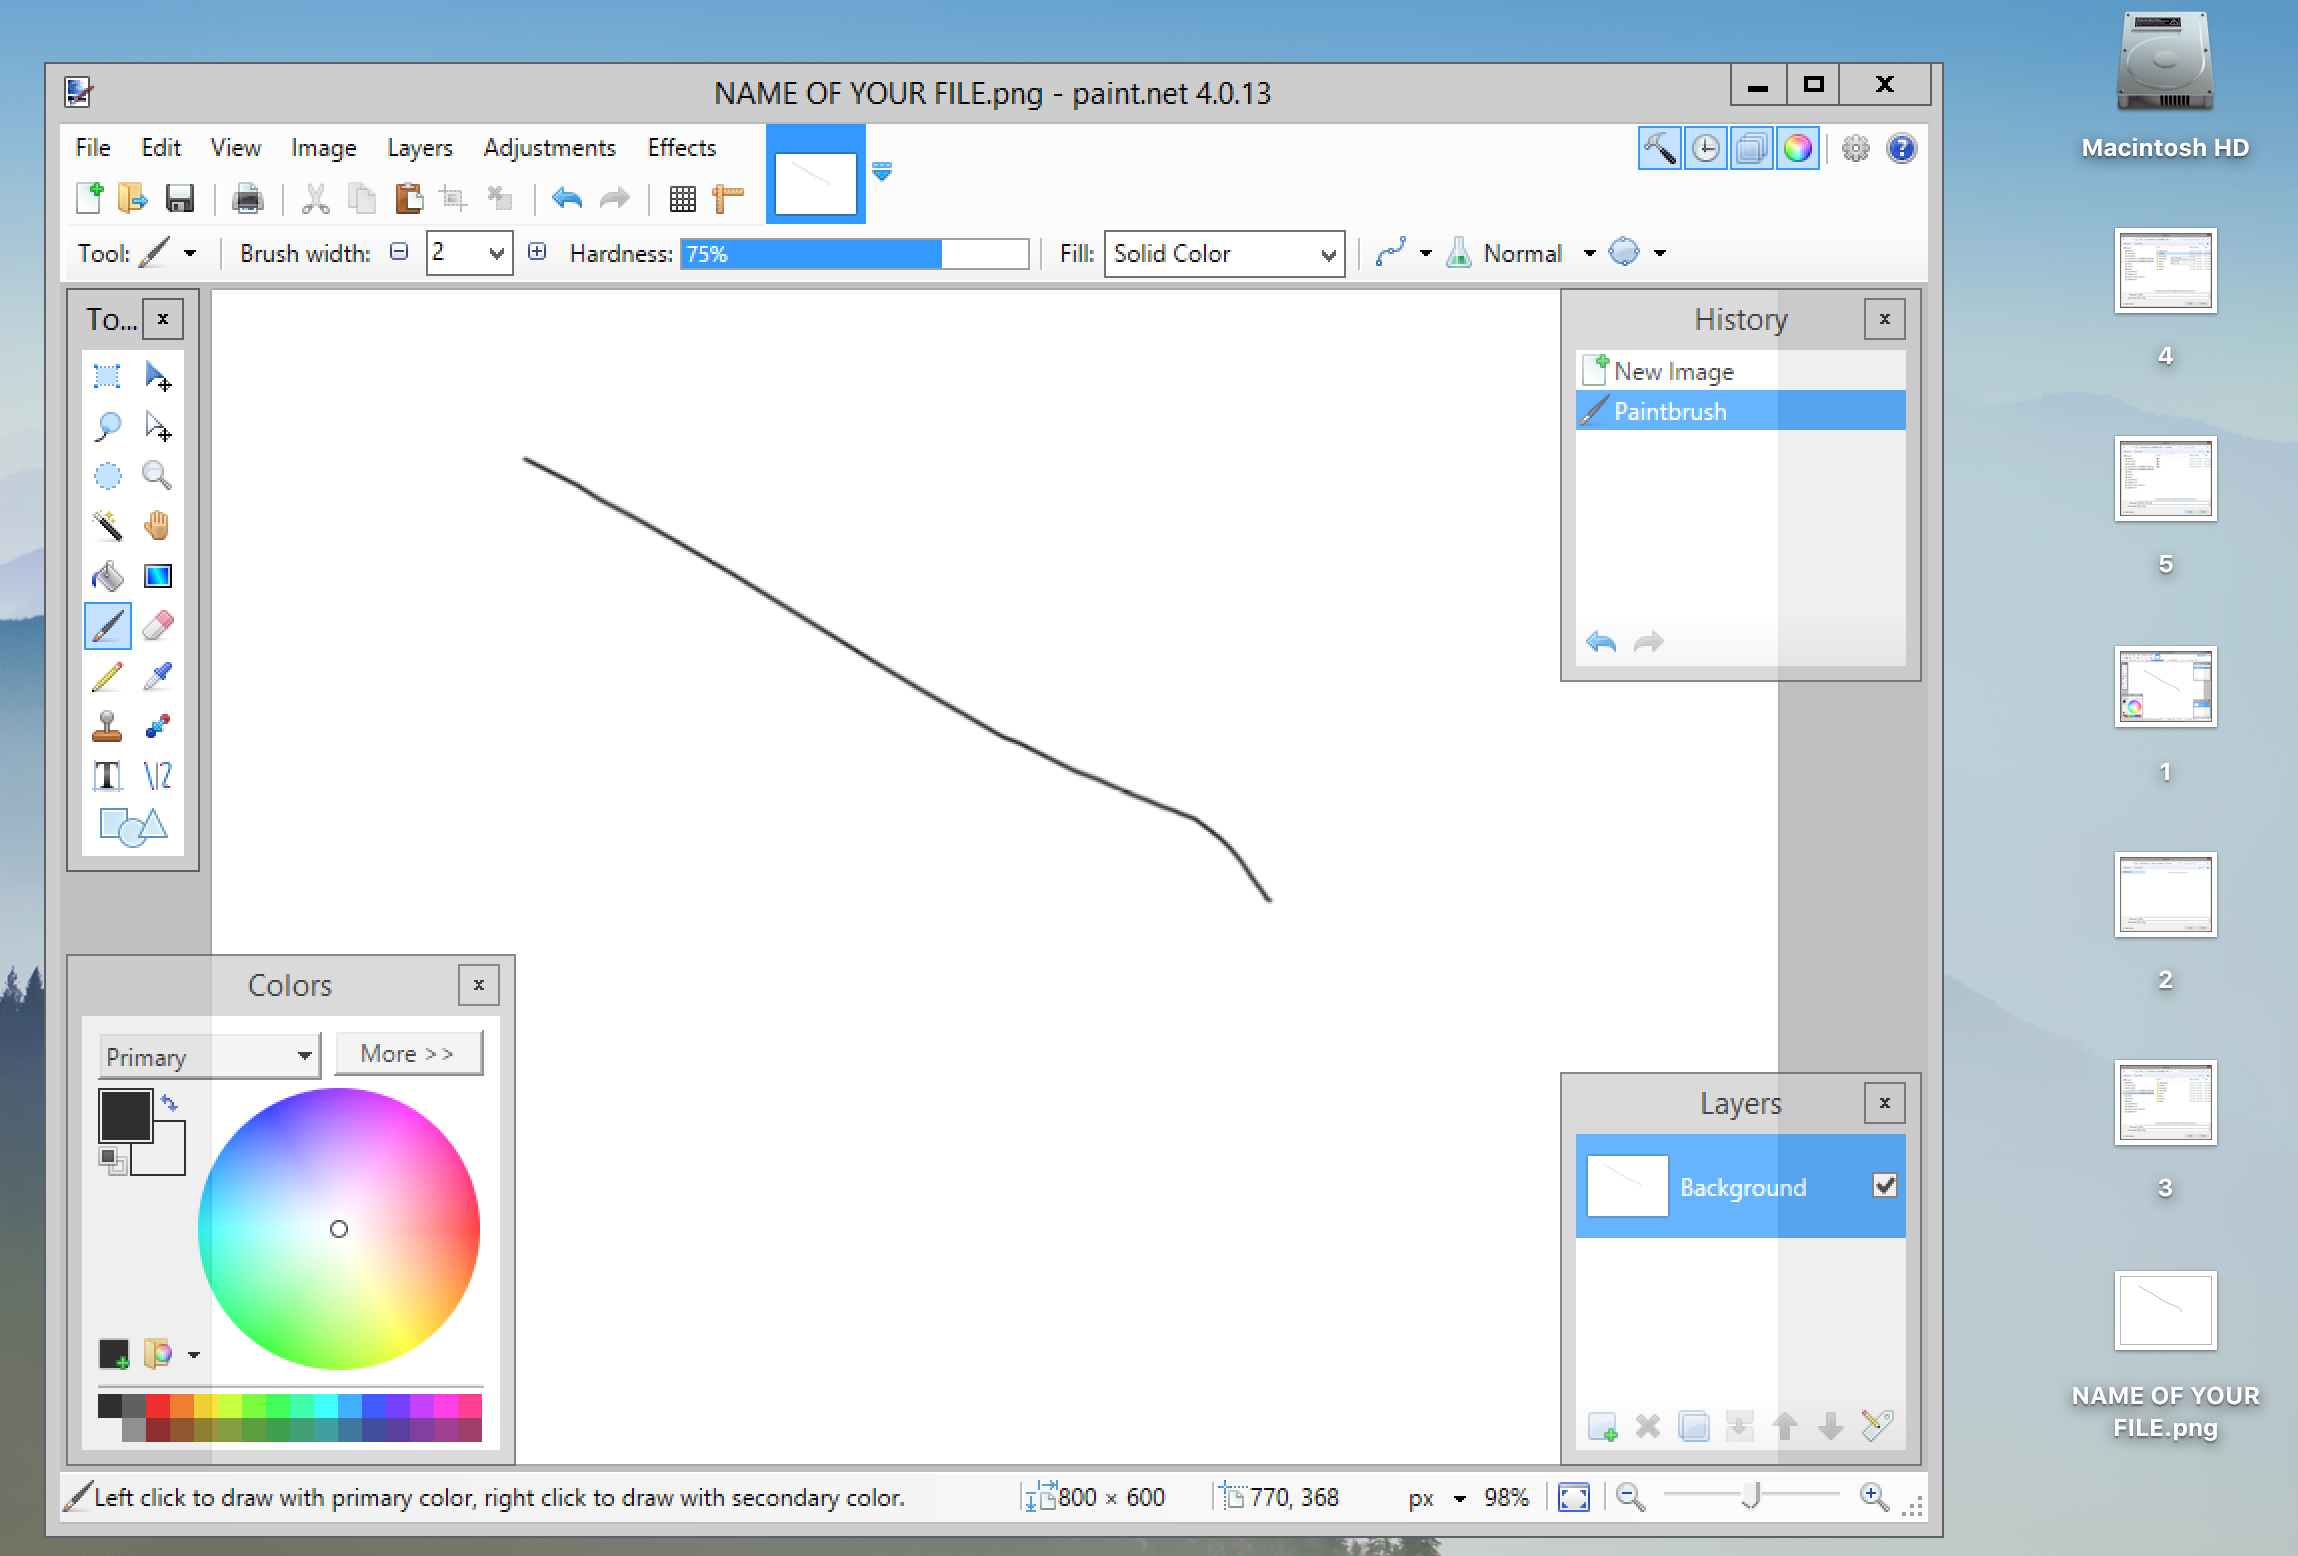
Once the file has been saved you should see it on your local Mac desktop.
Saving to USB from your Mac on Apps Anywhere
In this next example, we will use Microsoft Word 2016 via Apps Anywhere from our Mac-based computer. Our target save location will be a USB device that is plugged into the local Mac-based computer.
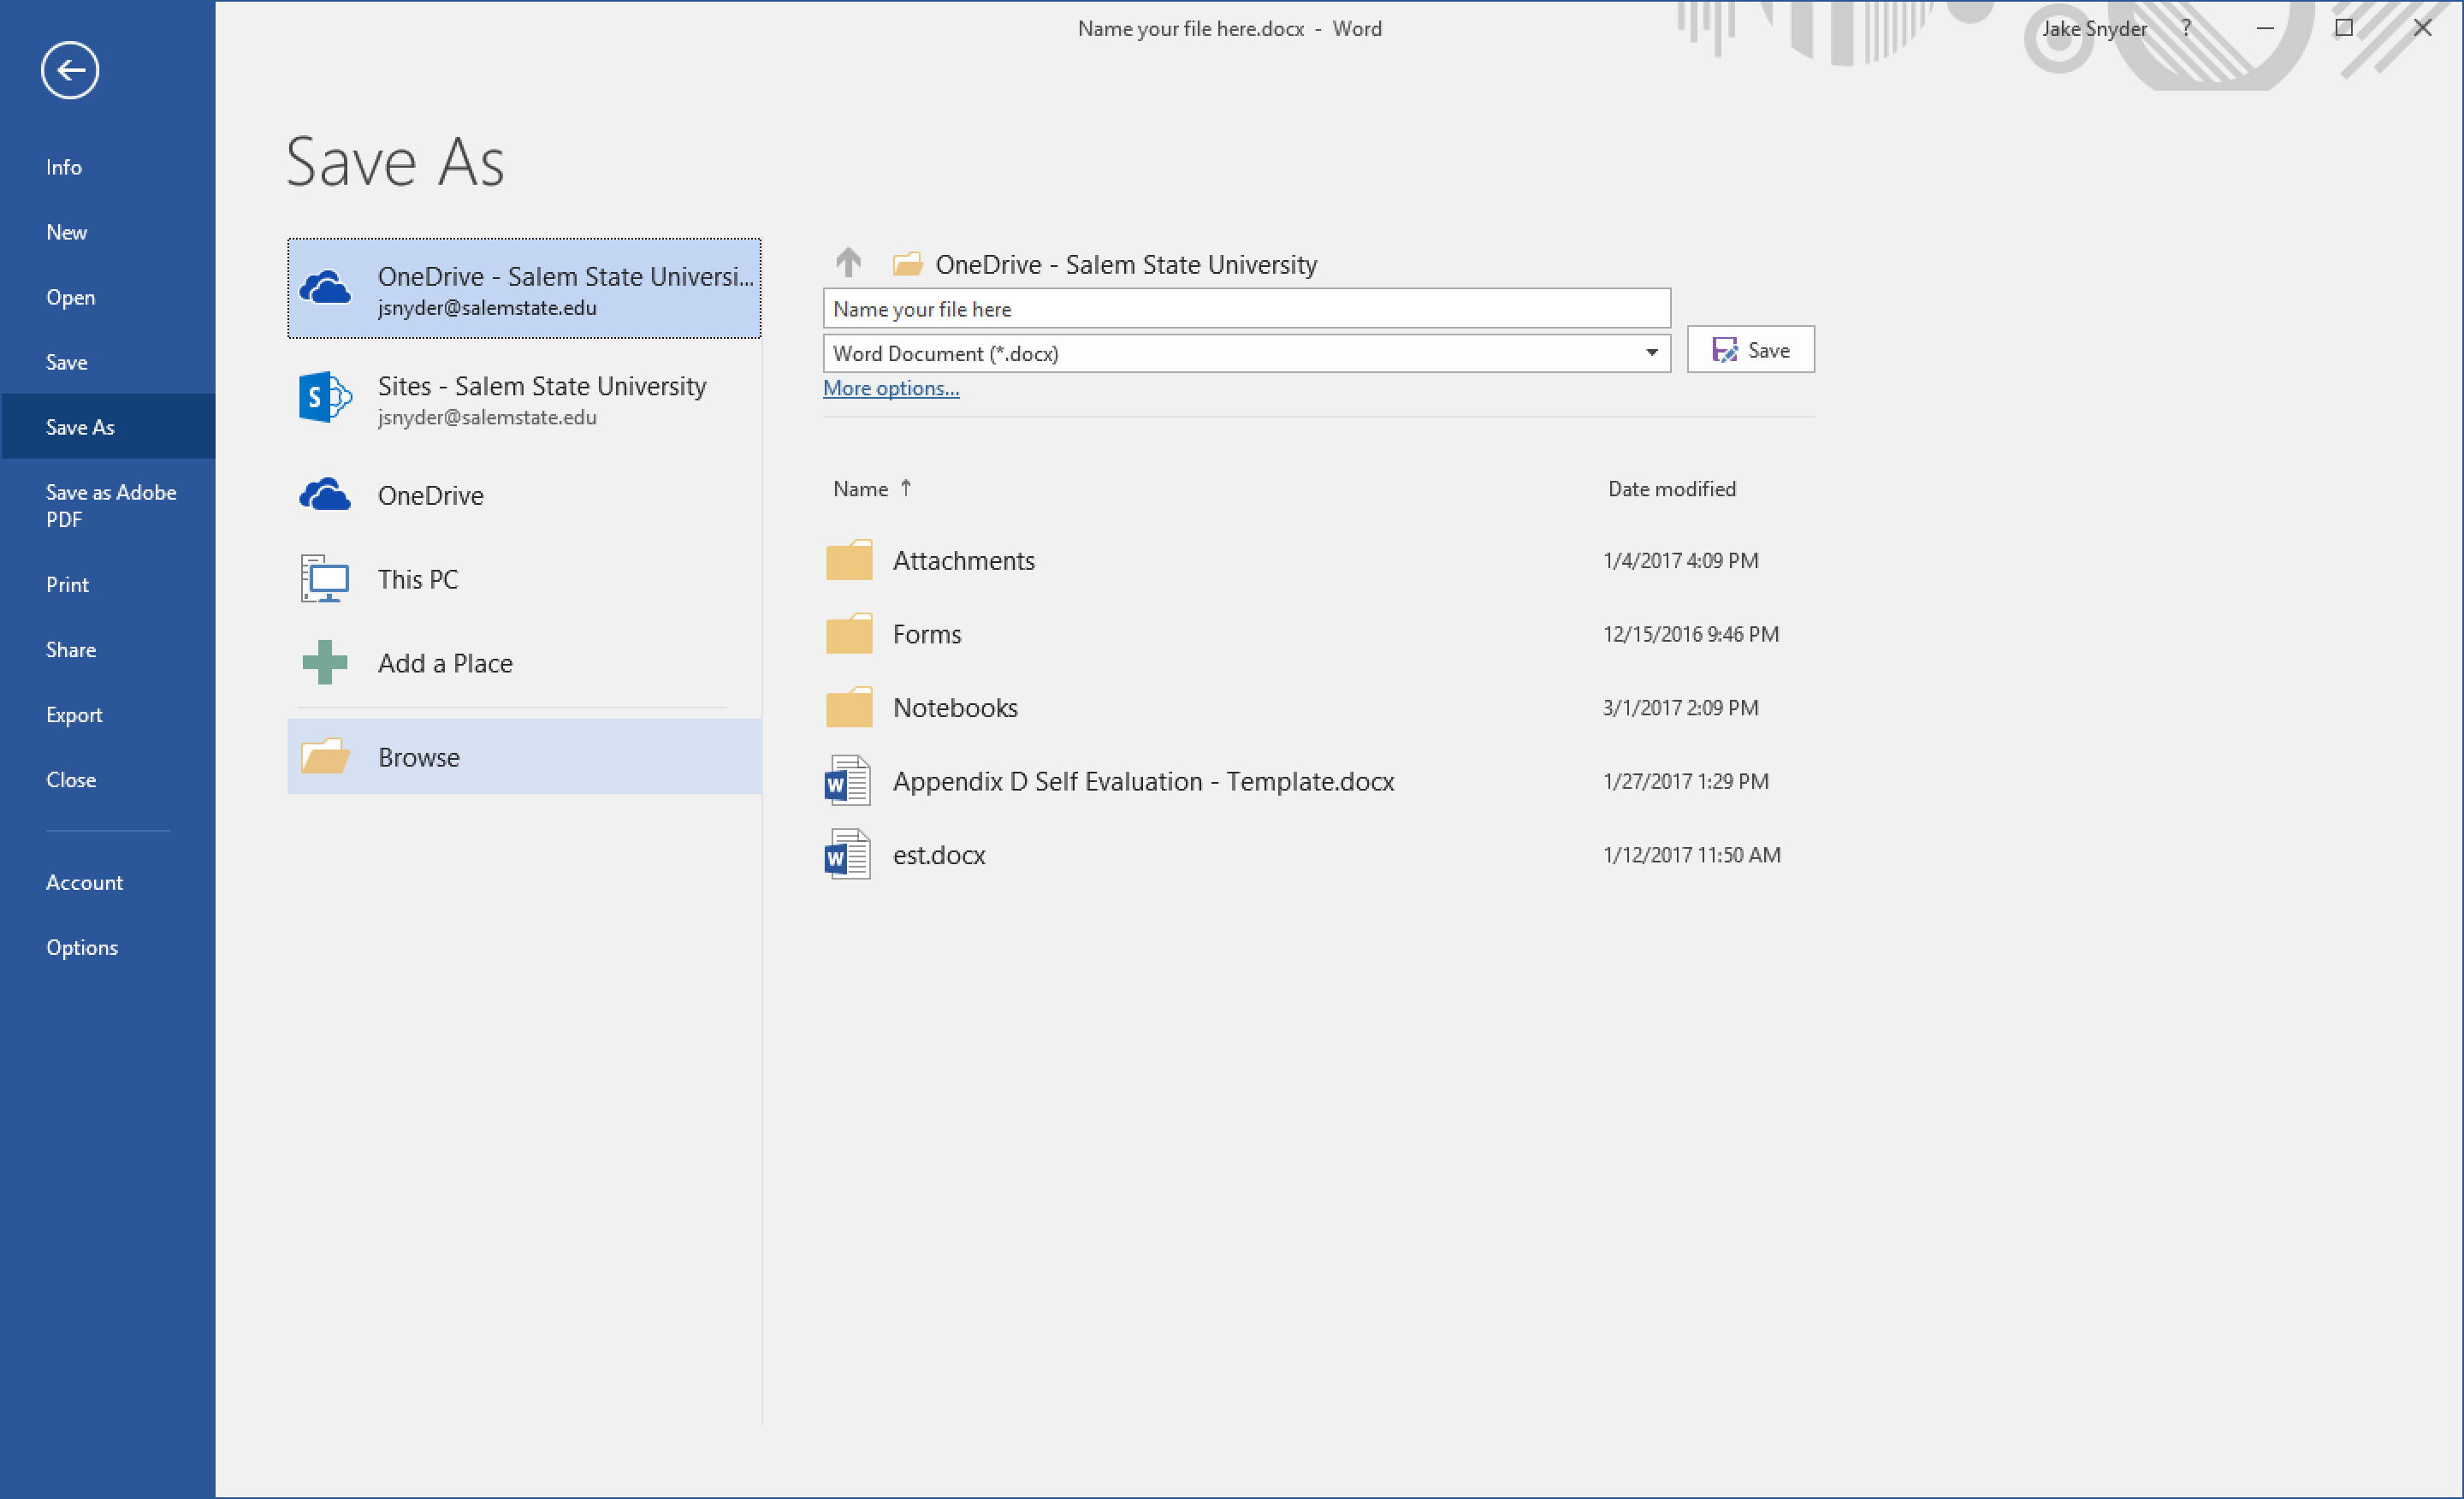
To begin, click on the Save icon in the top left-hand corner of the screen or go to File > Save As.
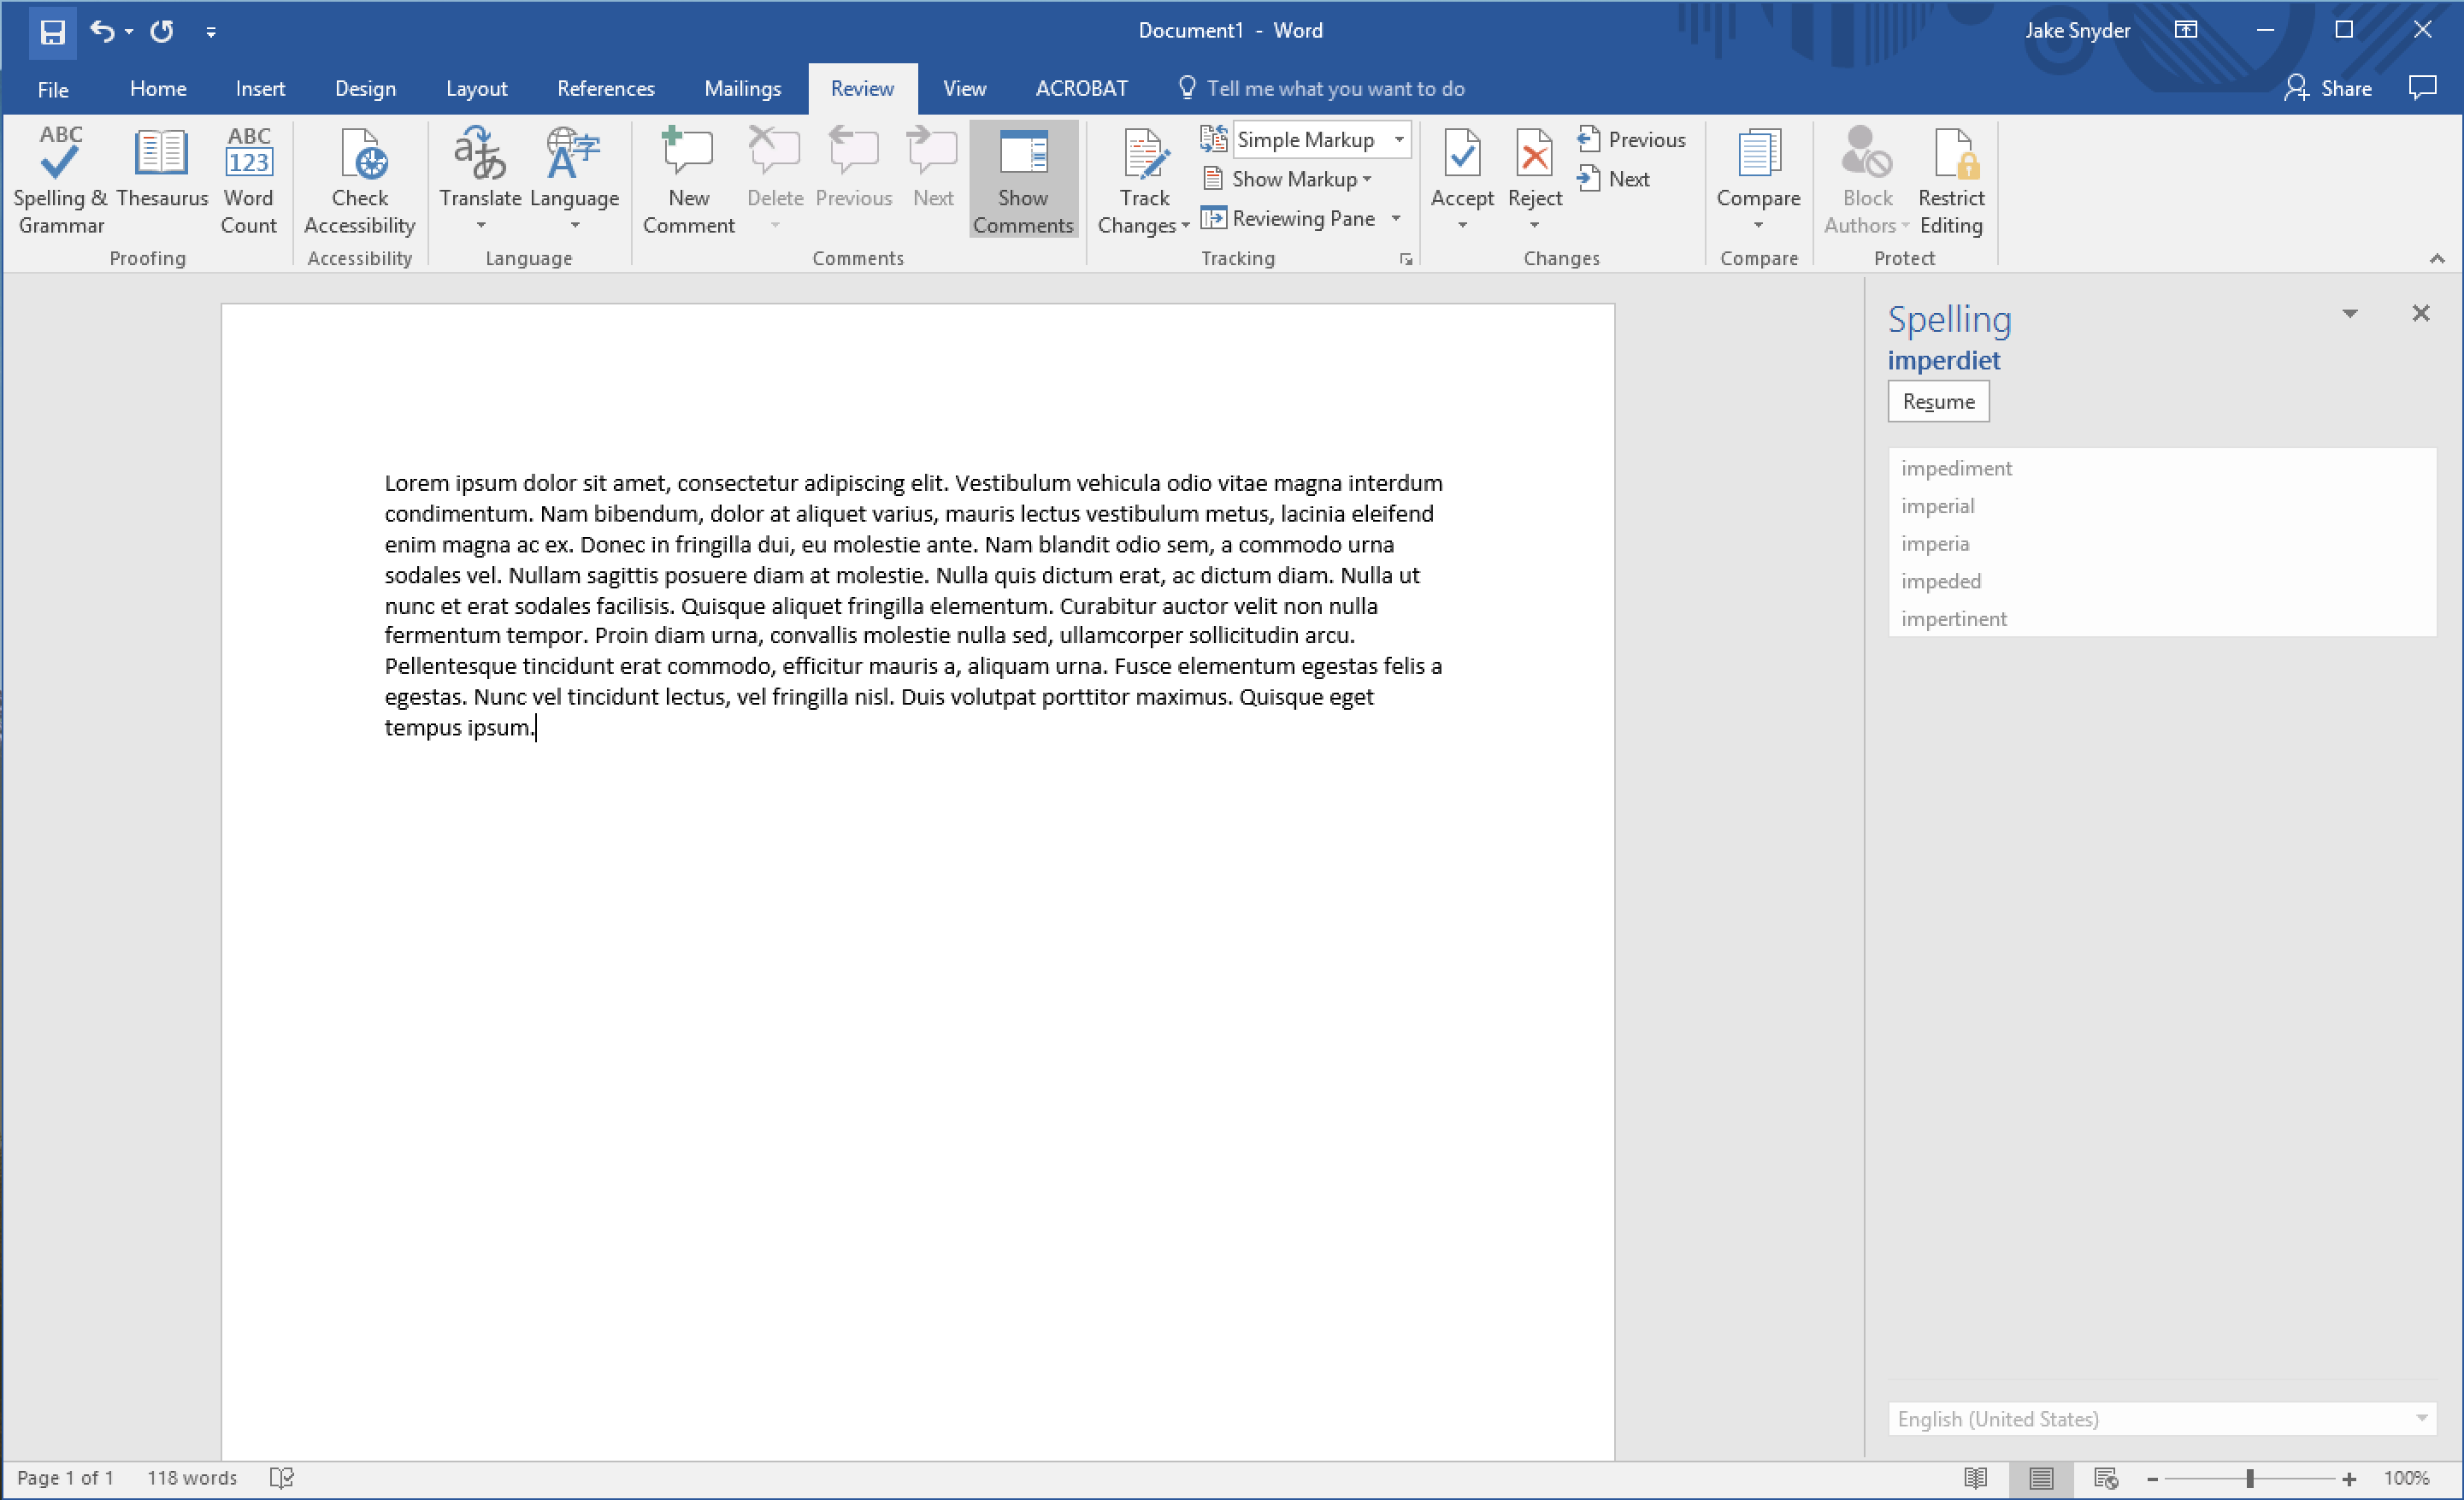
You'll notice that the default save location is your SSU OneDrive account. This is a valid save location, but for this example, we're going to save to the USB drive on our Mac instead.
Click Browse at the bottom of the list.
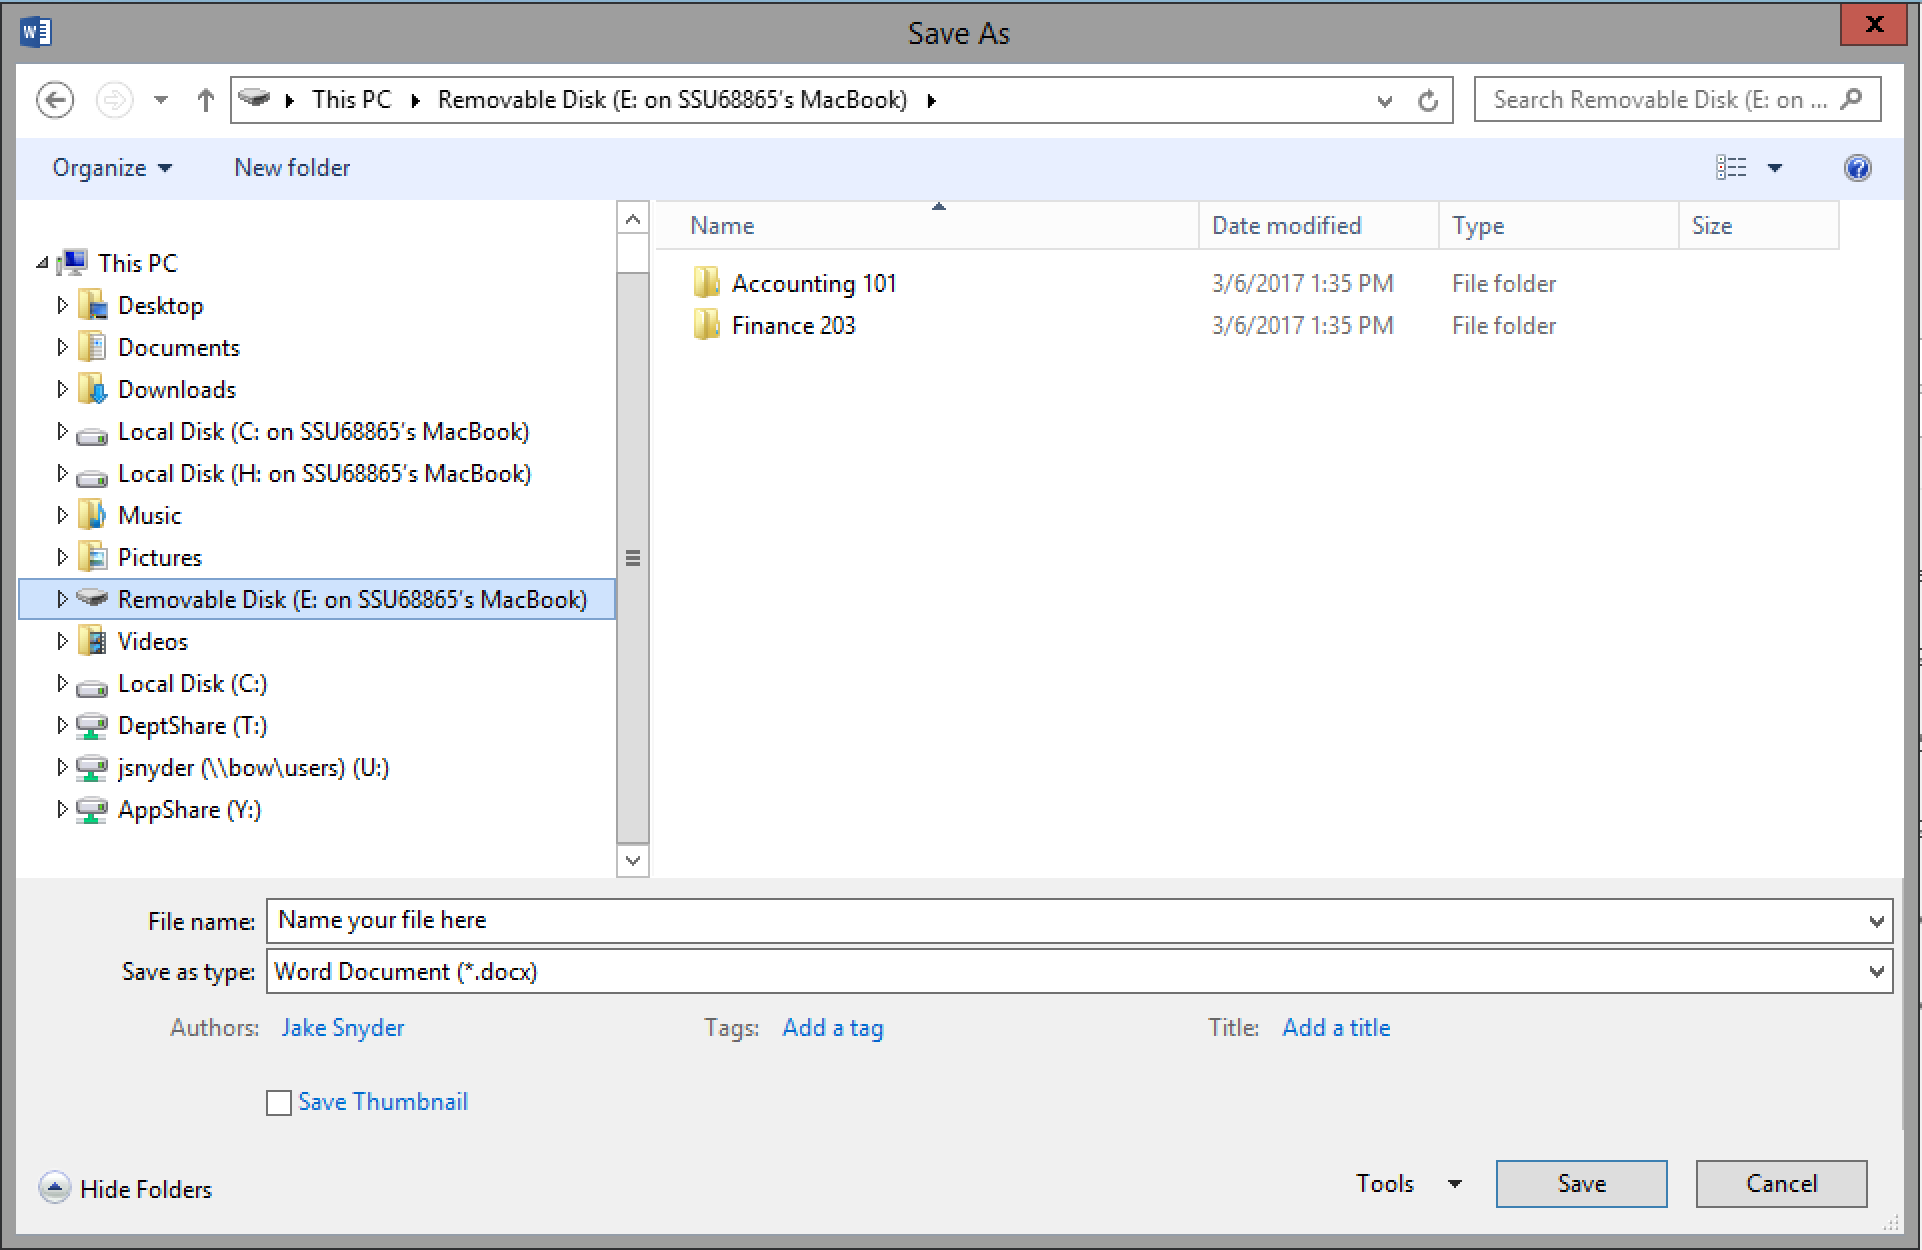
This next screen should look familiar. We're going to either click on the small arrow next to "This PC" or just click the text "This PC". In the example below I clicked the small arrow next to "This PC" and then selected Removable Disk (E: on SSU68865's MacBook). SSU68865 is the name of my MacBook so expect to see the name of your Mac-based computer. Unfortunately, it will not display the name of the USB device, but we know that this is the correct drive because it says Removable Disk. Go ahead and name your file, and then click Save.
It's always a good idea to check to see if your file saved successfully.